
01
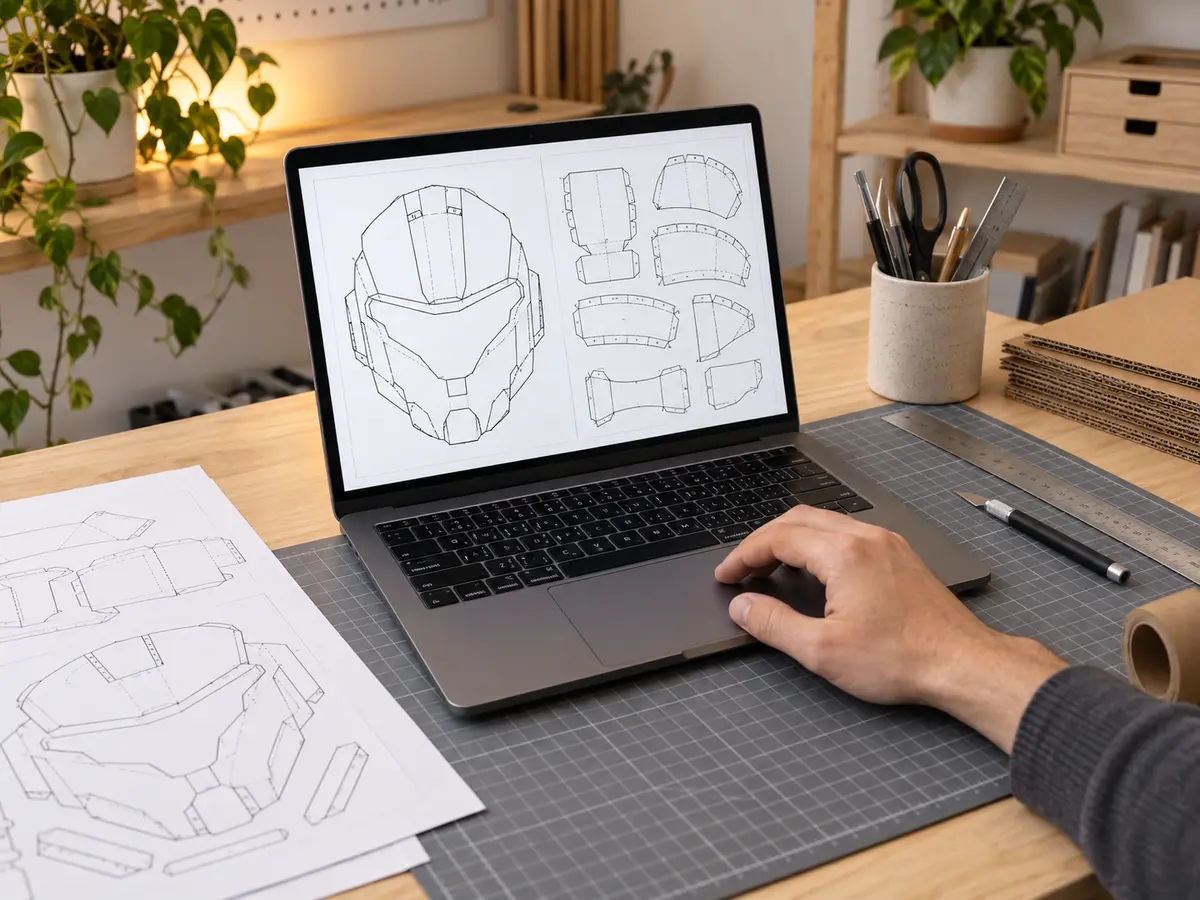
DOWNLOAD THE PATTERN
Choose your favorite design and download the printable PDF files after purchase.
Our printable patterns turn simple cardboard into imaginative creations. Follow eight clear steps, match the numbered pieces, and enjoy making something with your own hands.
BROWSE PATTERNS →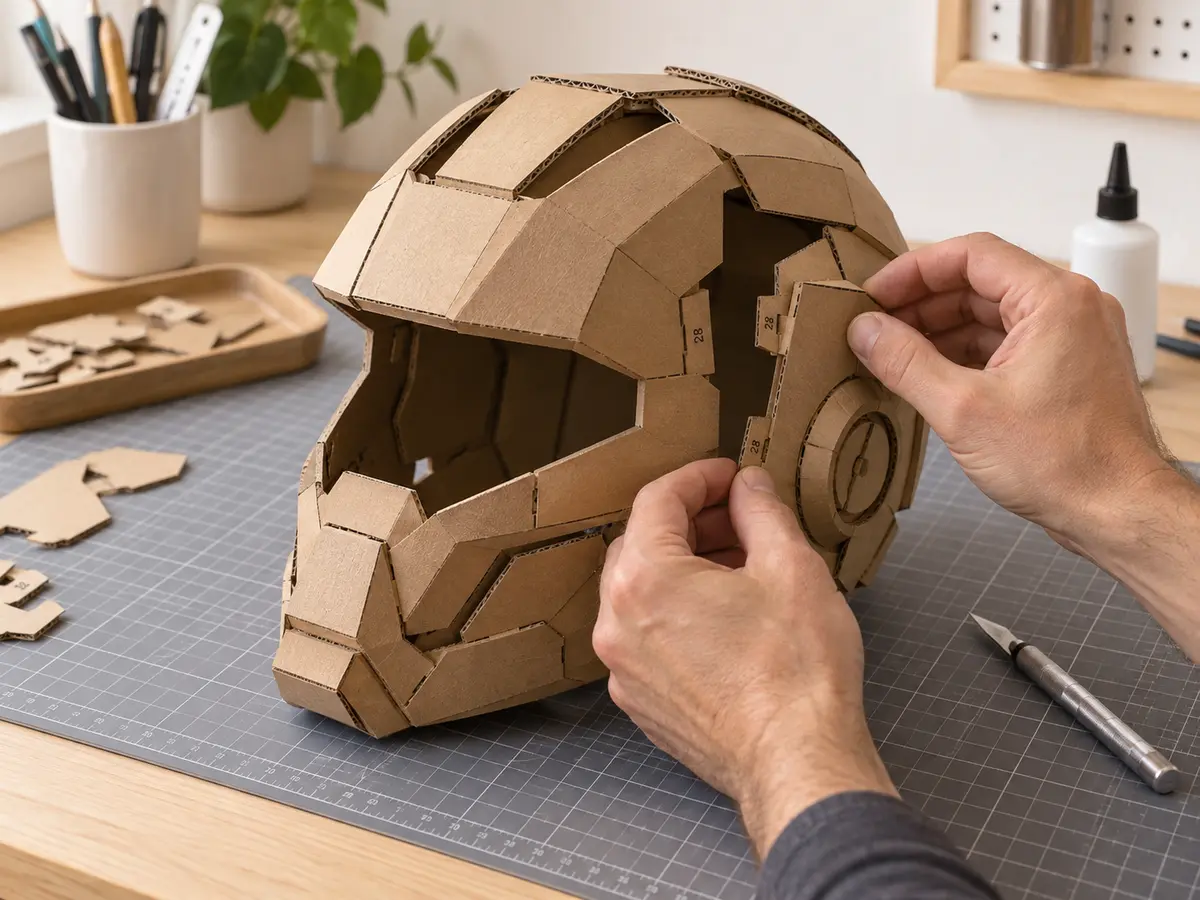
Eight simple steps from a digital pattern to a cardboard creation you can be proud of.
Choose your favorite design and download the printable PDF files after purchase.
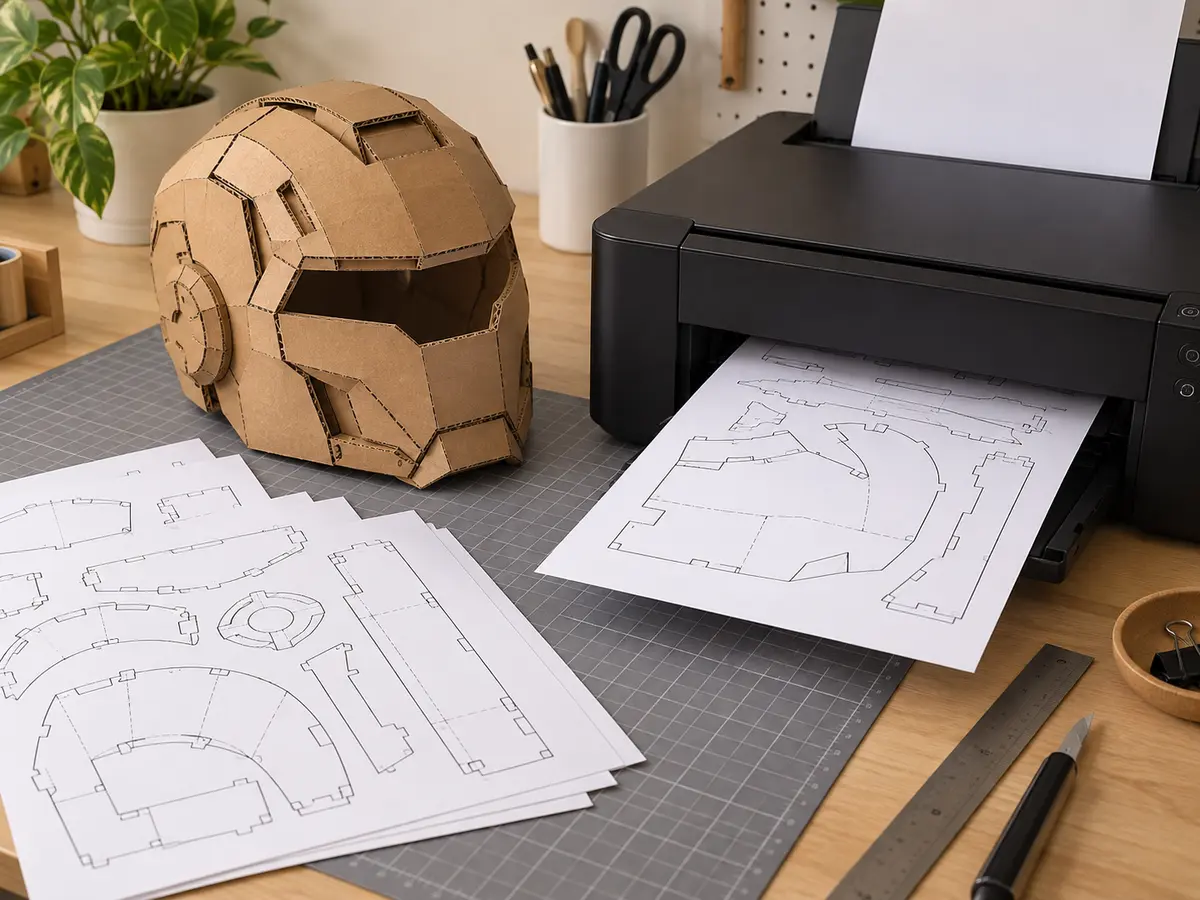
For helmets, choose 100% for a 21–23 inch head, 90% for 20–21 inches, or 80% for 19–20 inches. Print every page of the helmet at the same scale. For other patterns, use Actual Size (100%) unless the product says otherwise. Use A4 paper (US Letter when available) and turn off Fit to Page.
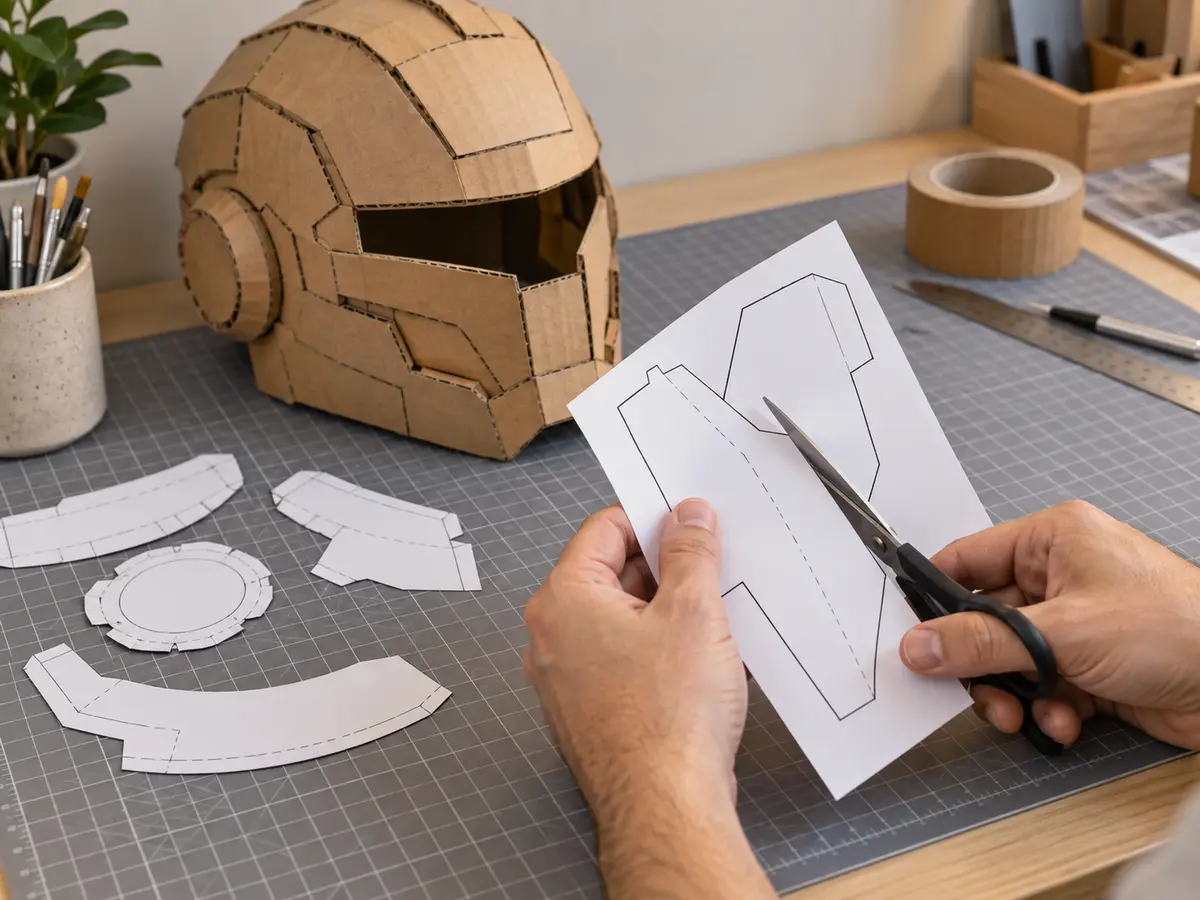
Carefully cut each printed pattern piece along its solid outer line.
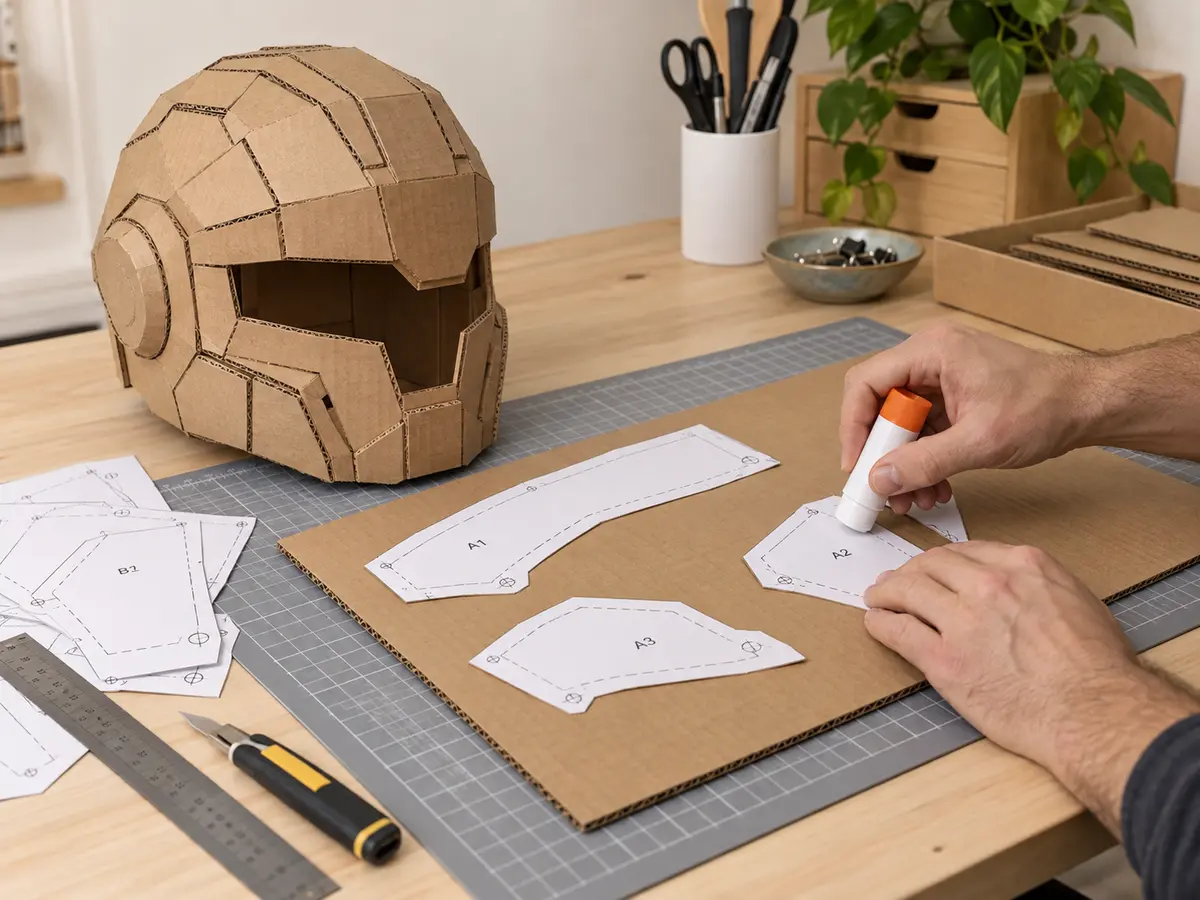
Attach the paper pieces to suitable corrugated cardboard with a glue stick or light spray adhesive.
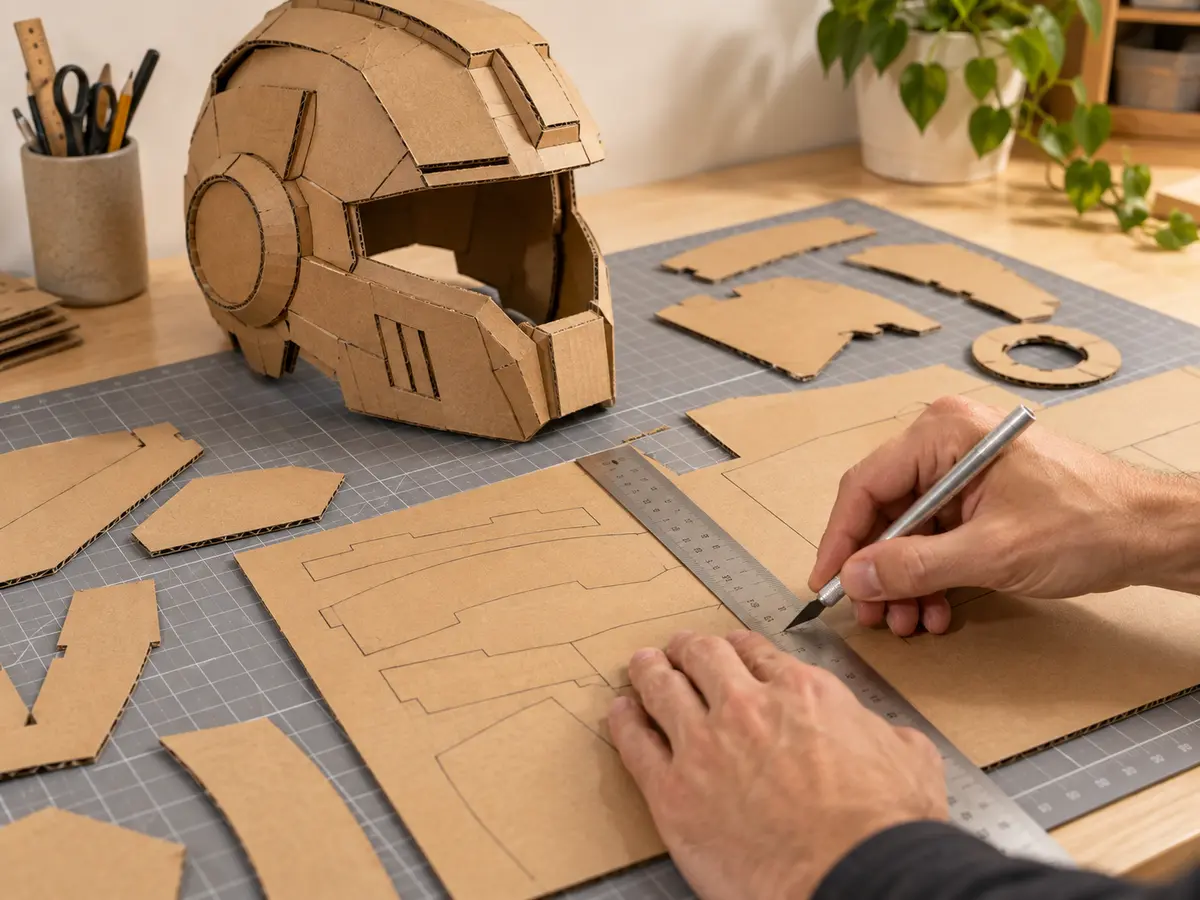
Use scissors or a craft knife and cutting mat to cut every cardboard part accurately.
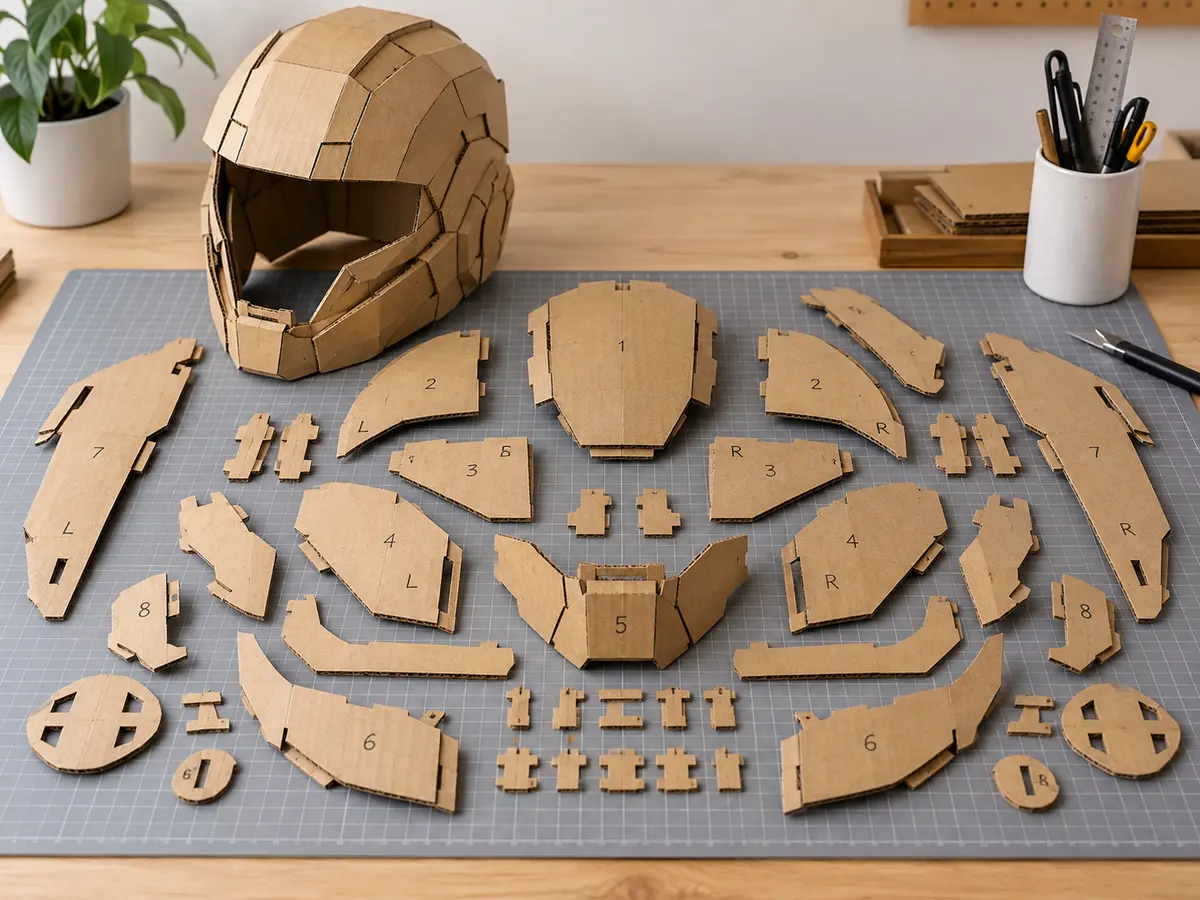
Organize the pieces, then match identical numbers and letters to find each connection.
Follow the numbered order and join each connection using glue or tape.
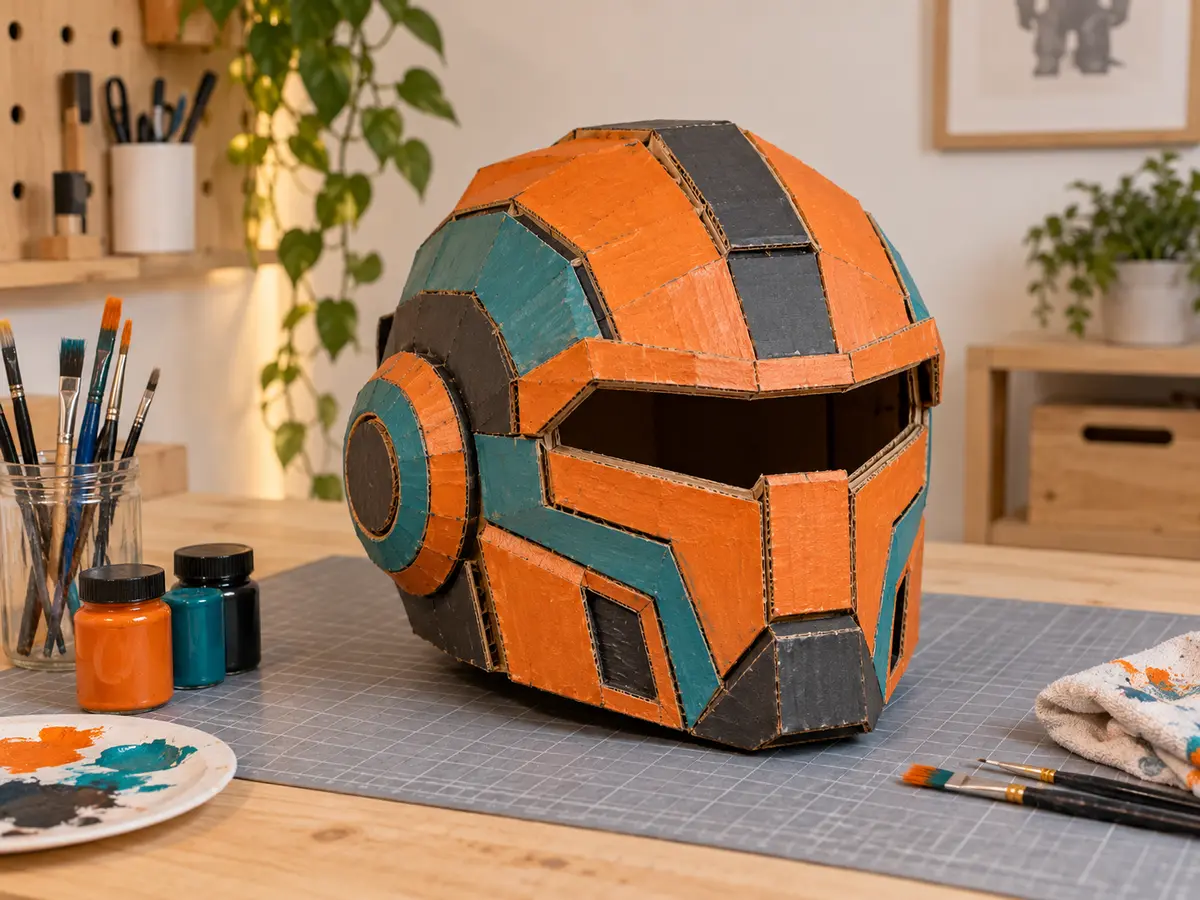
Keep the natural cardboard look or finish your creation with paint, markers, and personal details.
Just a few simple supplies are needed to get started.
A few important things to keep in mind.
Choose 80%, 90%, or 100% to match head circumference. Apply the same scale to every helmet page; turn off Fit to Page. Print other patterns at 100% unless stated otherwise.
We recommend clean, flat cardboard approximately 1.5 mm thick. Keep the thickness consistent throughout your build.
Children should be supervised whenever scissors or craft knives are used.
Keep all numbers and letters visible until the matching pieces are connected.
Difficulty describes the complexity of the pattern—not the amount of time needed.
Few parts, simple shapes, and only a small number of connections and labels.
More parts and connections, while the assembly sequence remains easy to follow.
Many parts, labels, and connections, including several smaller details.
A high number of parts and connections, a more complex numbered sequence, and many small details.
▶Explore the tutorials available for selected patterns and see how the pieces come together.
VISIT OUR YOUTUBE →Explore our growing collection and find your next cardboard project.
EXPLORE ALL PATTERNS →